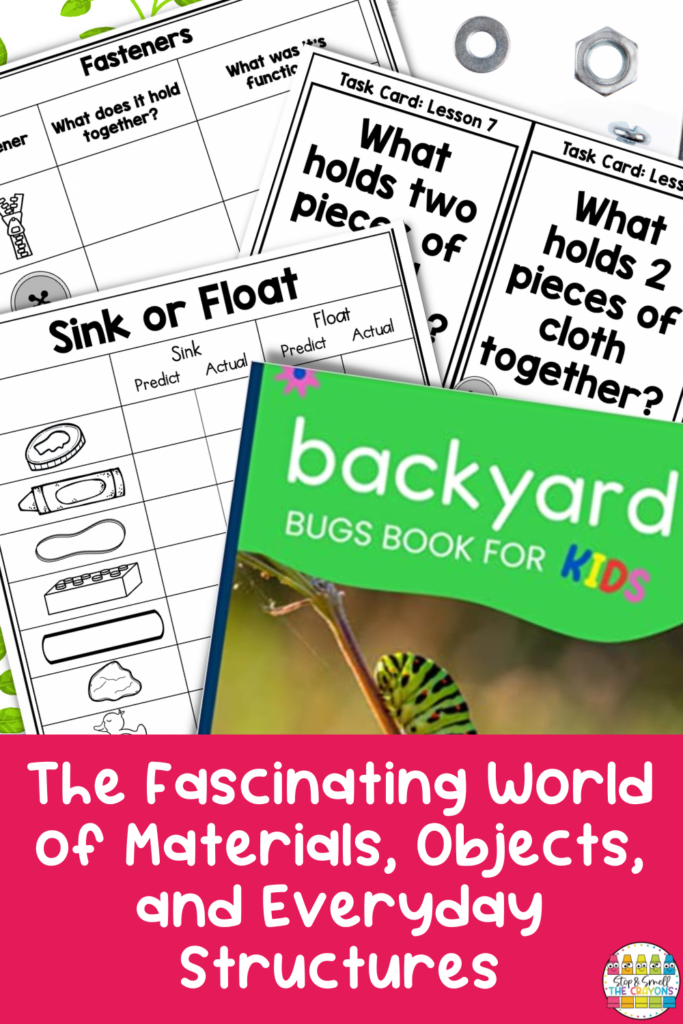
We are all a little guilty of not following the saying, “Stop and smell the roses.” No shame at all! We live in a fast-paced world. One of the parts of teaching that I am always grateful for is being able to see the world from my students’ eyes. The way they look at the world around them full of materials, objects, and everyday structures is a look full of wonder and awe. Accompanied by these observant eyes are questions about where these items came from.
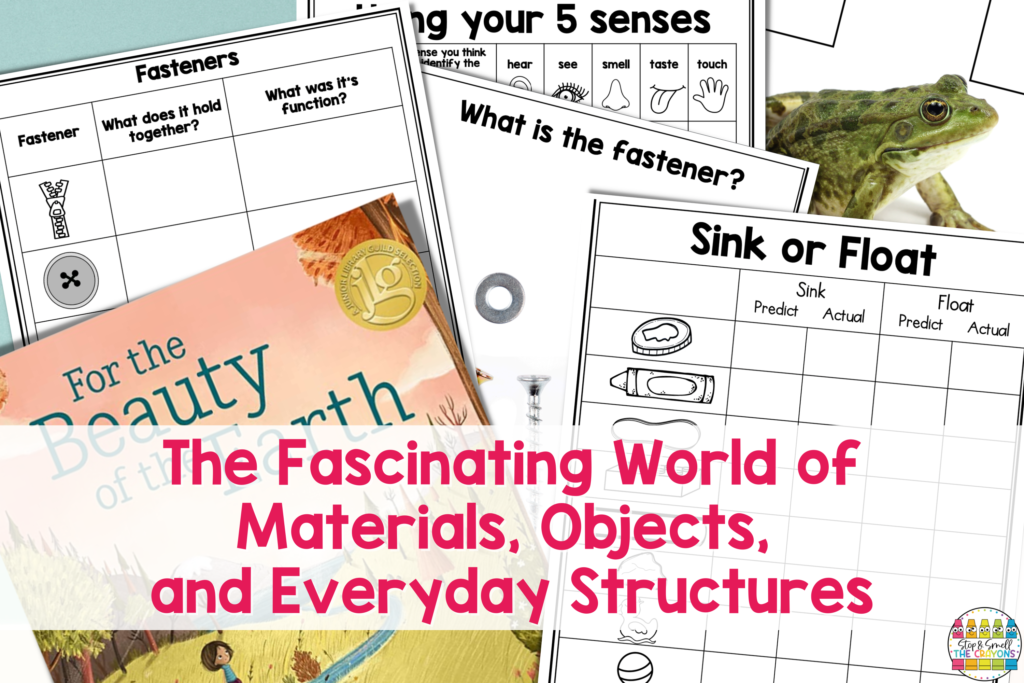
That’s where the task of teaching the Ontario Grade One Science curriculum: Materials, Objects, and Everyday Structures comes into play. I love how it’s our job to teach our young learners about the wonders of the world around us. We get to teach them about how the earth is able to create items we use on a daily basis, and how other items are created by humans. Because of this, we are also the ones that get to help them be responsible citizens and caregivers of the world around them.
That all sounds pretty amazing, right? In a perfect world, we would have everything at our fingertips to help us give our learners access to the curriculum. However, we have to work with what we as teachers and school districts have access to. If your school has limited science materials and you as a teacher have few resources to teach this unit, continue reading to find easy-to-integrate activities that can be incorporated into all subject areas!
Hands-on Learning to Teach Materials Objects and Everyday Structures
One of the best learning experiences for young learners is when the concept being taught can be brought to life. Allowing students to touch, manipulate, and move around objects centered around the lesson helps them to stay engaged, retain the information, and strengthen problem-solving skills. When students can “do” something instead of sitting and listening, they are more open to absorbing the learning experience. Movement helps with being able to recall those important details.
Below are a few suggestions for hands-on learning centers during your materials, objects, and everyday structures unit:
Recycling Center
Before starting this station, my class and I will look at different pictures on the board and sort them into different categories of recycling. Pictures might include an aluminum soda can, a newspaper, cardboard, and a glass juice bottle. If I have the actual items on hand, I will bring in the physical objects to actually sort into containers.
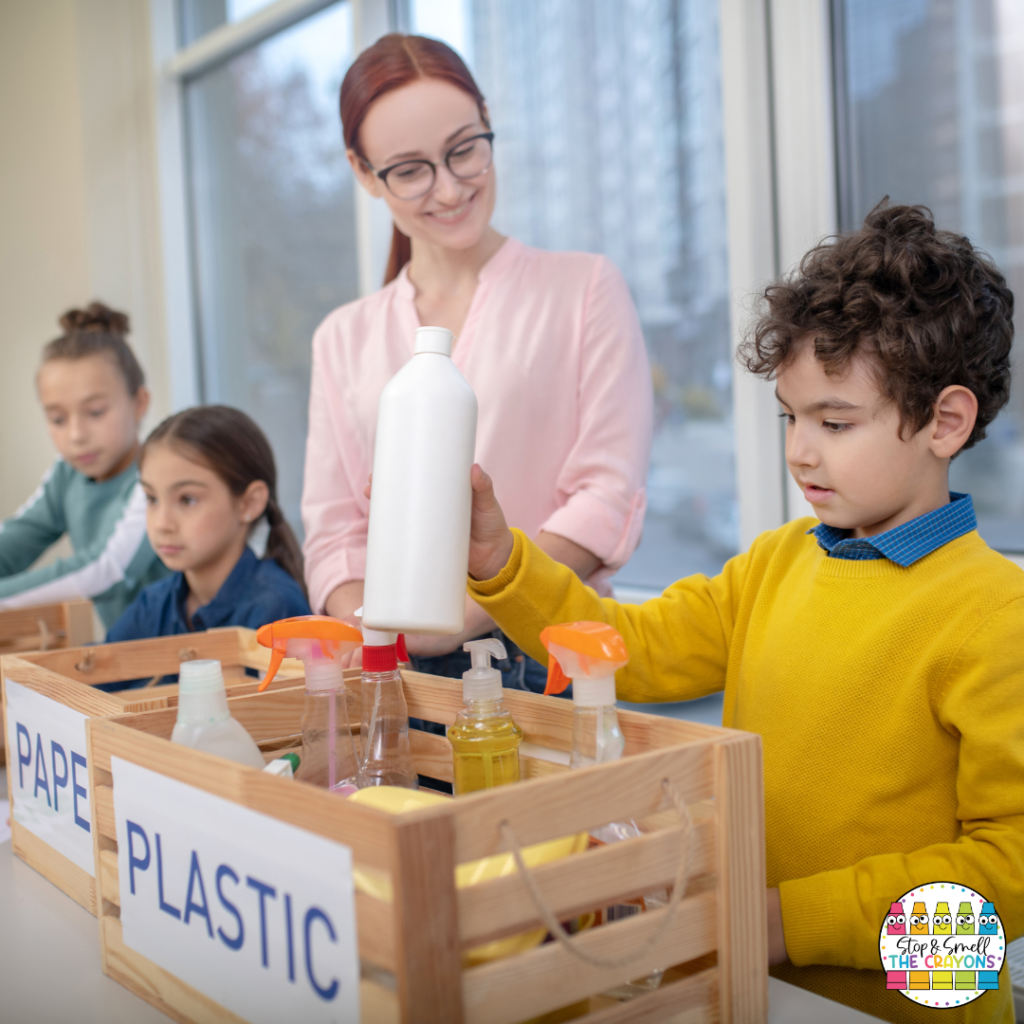
We talk about how each item is recyclable, but that they get organized into different containers. I explain that it’s because of the different materials, and how they get broken down differently to be reused for other uses.
For the actual center, pictures are provided for students to sort into recycling containers by material. The pictures will be of items they come into contact with frequently, and that are common to see. There will have containers labeled by the category – aluminum, paper, plastic, cardboard, and glass. Students will look at each picture and place it into the correct bin.
Class Recycling Bins
“Monkey see, Monkey do,” is another commonly heard phrase, but it is so imperative when it comes to being able to successfully use materials, objects, and everyday structures around us. Our young learners need to be exposed to opportunities where they can form positive habits when it comes to recycling.
For this station, students are provided with a recycle bin. They can be paper bins that let the students decorate and make their own. They can be plastic and be different sizes. The main takeaway from this center is for students to learn the importance of recycling in the classroom by doing.
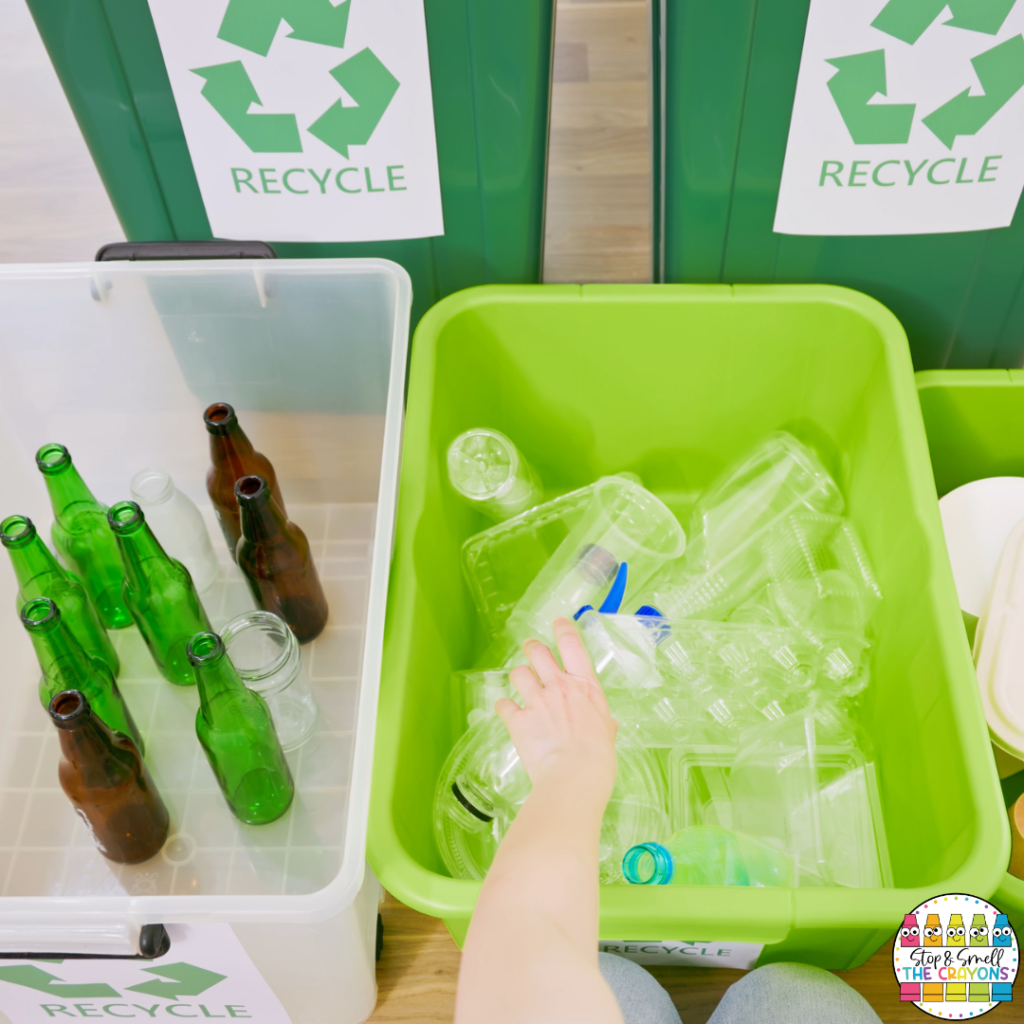
While this station is in action, I will have different areas around the room with recyclable materials. I will label these areas with the reduce, reuse, and recycle labels. Students will travel around the classroom to these areas to check for recycling. If there are any at that particular spot, they will place the materials into their bin. They will return to their home spot for the center and work on organizing the materials into different categories.
The hope is that when students see something lying on the floor to be thrown away, they pause and think if it can be recycled.
Sort and Classify
I love a great sorting activity. I am very Type A, and I thrive when materials are organized. When a sorting activity enters my radar, I become joyful because everything in the sort has a specific place. The main reason why sorting activities are beneficial is that they allow students to touch, move and express their reasoning for where they decide the object goes.
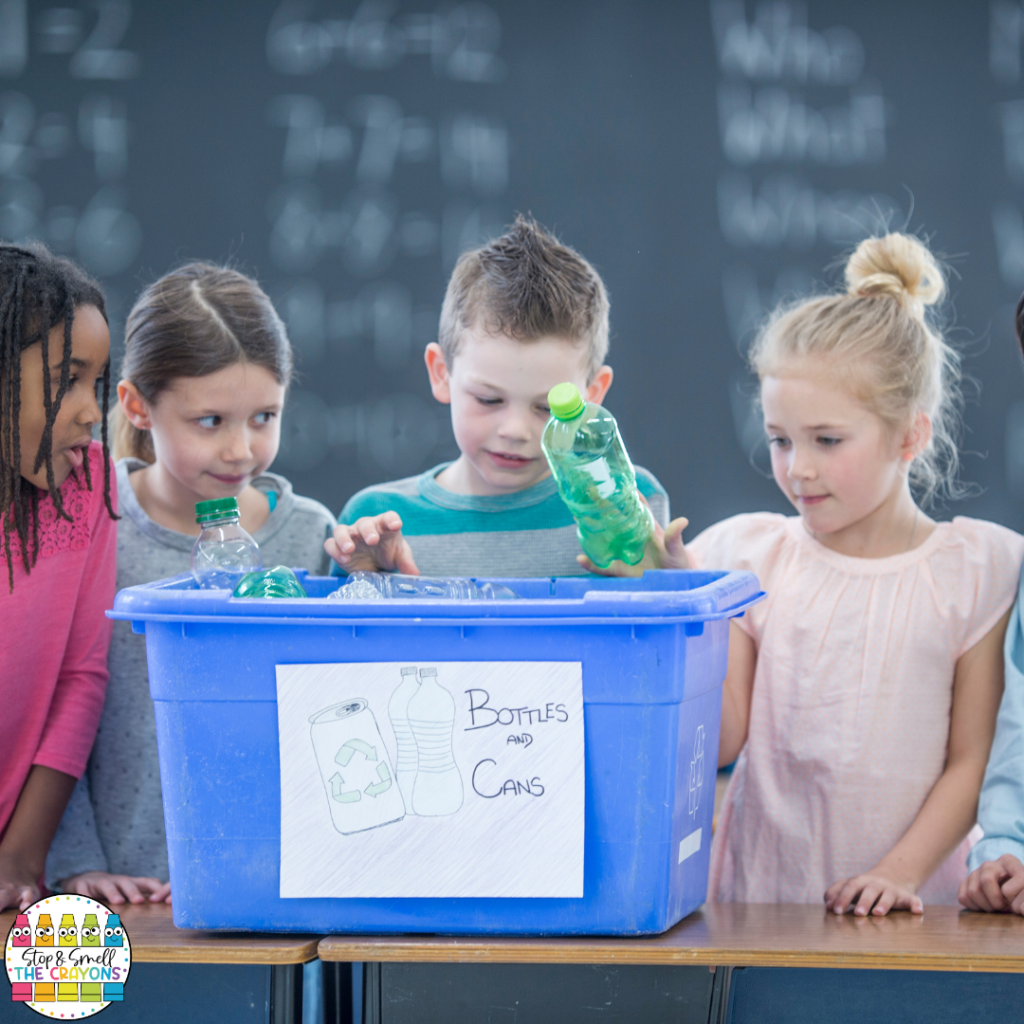
I make this center a partner one so that they can practice with one another on communicating the thinking behind their decision. At this center, the students will have a series of recyclable materials – paper scraps, cardboard boxes, books, aluminum cans, plastic items, etc. There will be a header card for each category that the students will set out before beginning the sort. Once the headers are in place, students begin sorting the materials to the correct header.
They take turns sorting one item at a time. Before moving on to the next item, they need to explain why they placed the item under the category they chose. The movement and verbal explanation help with retaining the information because they look at the item, move it, and explain why they moved it to where they did.
5 Senses Center
I love pulling in the five senses as much as possible! Our senses are so natural to us that we tend not to pay too much attention to them unless, you know, we smell a distinct smell or a loud noise that surprises us.
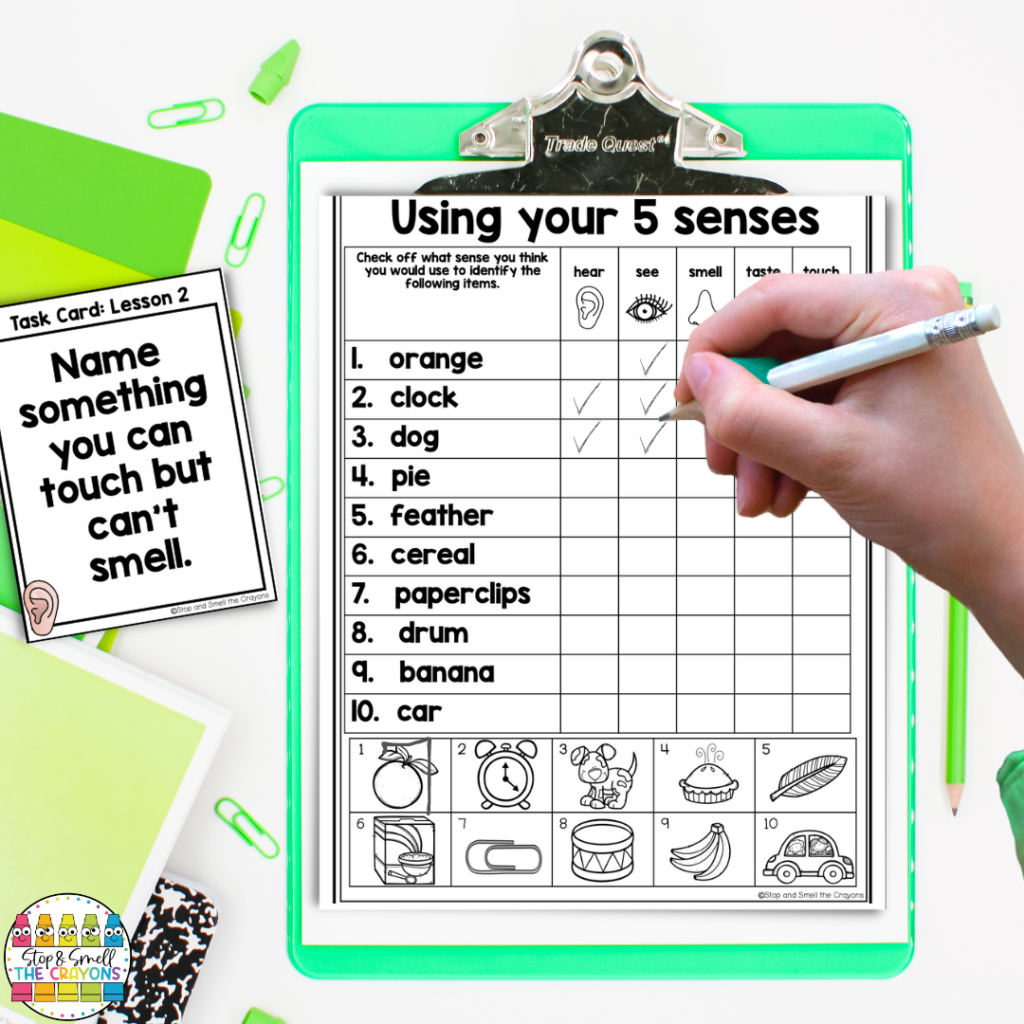
Before I introduce this center, my class and I go over what the five senses are and what their jobs are. One of my favorite ways to introduce this topic is to bring in different items – a wind chime for hearing, a candle for smell, a school-appropriate treat like a Jolly Rancher for taste, a sequin pillow that changes designs when you rub it for touch, and a picture of a scene for sight. Depending if it’s a whole class or a small group, I will either pass the materials around or have students come up to me to test out their senses.
In the 5 Senses Center, students will be observing different objects, materials, and everyday structures. For each item, they observe what they see, hear, smell, taste, and touch. They will write down their recordings on their recording page. This center can be independent or completed with a partner. If they work with a partner, they can continue practicing that communication piece of expressing one’s reasoning.
Science and ELA
With how jam-packed our days are, we are always looking for ways to bring other subjects into our core classes to meet all the standards. One combination is by connecting your science curriculum to your ELA block. Reading aloud to your class opens the world up to them, and can create some memorable learning experiences.
Picture Books for Materials, Objects, and Everyday Structures
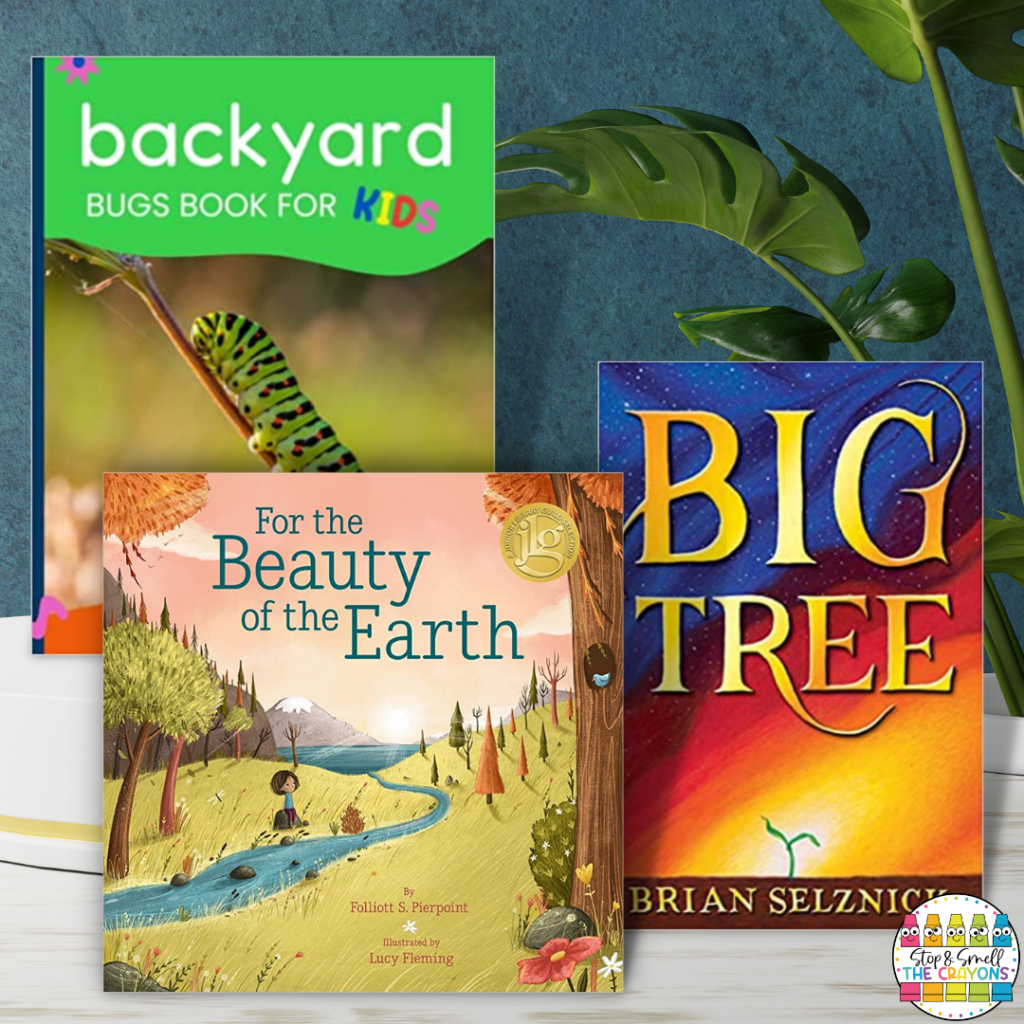
Over the years, I have worked to build up the science section of my classroom library. I want my students to have access to science topics outside of science time. By being intentional about adding picture books to your classroom library that connect to science topics and concepts you can expose your students to science in a variety of ways. Here are a few of my favorite picture books for teaching materials, objects, and everyday structures.
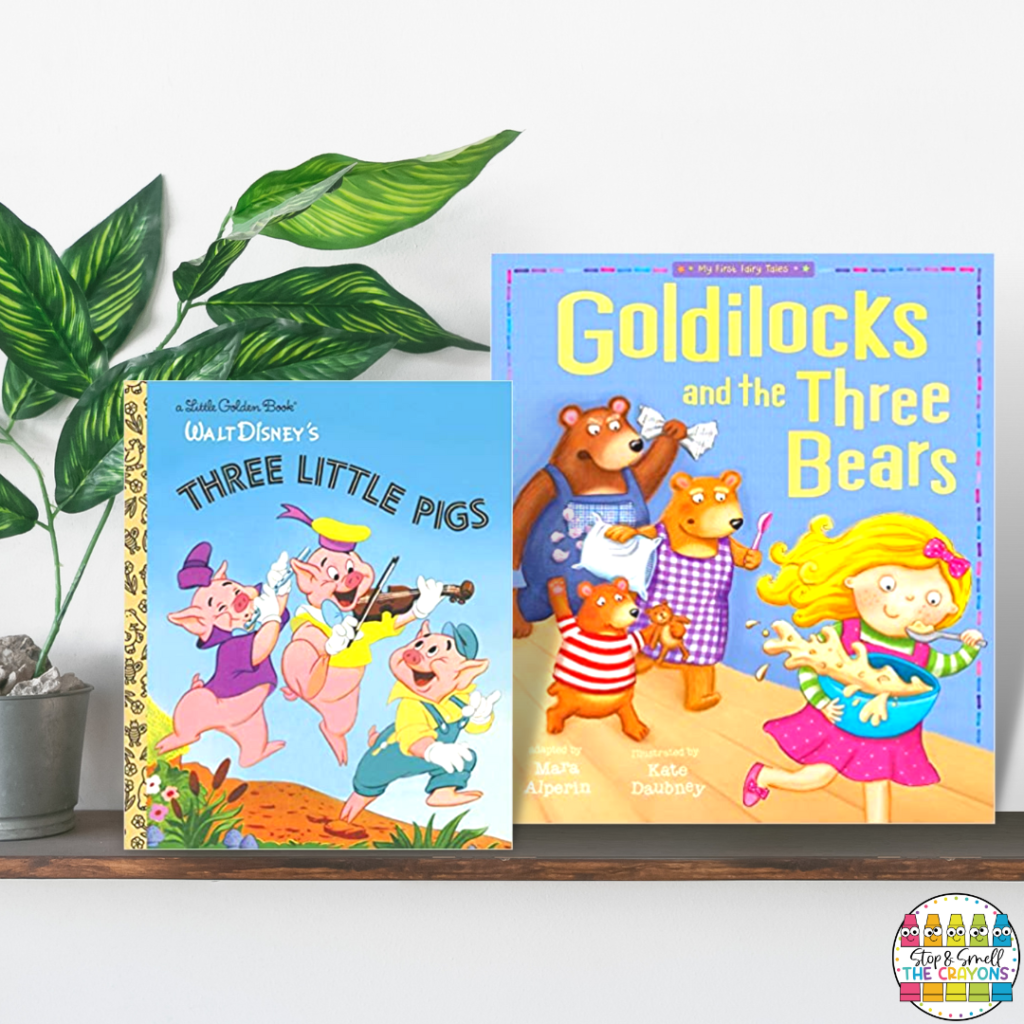
1. Goldilocks and the Three Bears
This classic children’s story is perfect for this science concept. After reading the story to your class, start a discussion about the various functions of the different objects in the story – beds, and chairs, for example. I then encourage them to think about other functional objects in the classroom – desks, couches, chairs, rocking chairs, etc. I have them turn and talk with a partner to talk about what makes them functional or workable.
This discussion leads to a partner or a small group building project. Students are challenged to build a functional object using recyclable materials. They each receive a planning page to plan out what they want to build and what materials they will need. Then they can grab the materials and get building. I like to finish this with a time for students to show what they built and to explain the function of the object. And. . . I love seeing their creativity and ingenuity shine!
2. The Three Little Pigs
After reading The Three Little Pigs with your class, together you can discuss the importance of choosing the right material to build a wolf-proof house. Based on this picture book, as a whole class or in groups students discuss the different strengths of the various materials they have to use to build a sturdy house. The materials available to use are recyclable and put all together must stand up against a fan blowing on the structure.
Both of these books provide a great connection for integrating reading, science, and STEM!
Scientific Texts for Guided Reading Lessons
Another way to integrate science into your ELA block is by using scientific texts for your guided reading lessons. There are many science picture books that make great additions to lesson plans about theme, plot, problem, and solution, and so much more!
Sometimes it can be difficult to find science-based books that are appropriate for guided reading. My first suggestion is to check out Epic! This is an amazing digital library that is filled with books on all topics at all grade levels. And. . . it is free to teachers and students during school hours making it a great place to find guided reading books with a science topic.
Science Experiments and STEM Projects for Materials Objects and Everyday Structures Unit
Experiments and STEM projects have great benefits for our young learners. While they work on learning the lesson of the day, they are also practicing collaboration, communication, problem-solving, and time-management skills. Wow!
A few of my class’ favorite experiments or projects for materials, objects, and everyday structures unit are below:
Sink or float
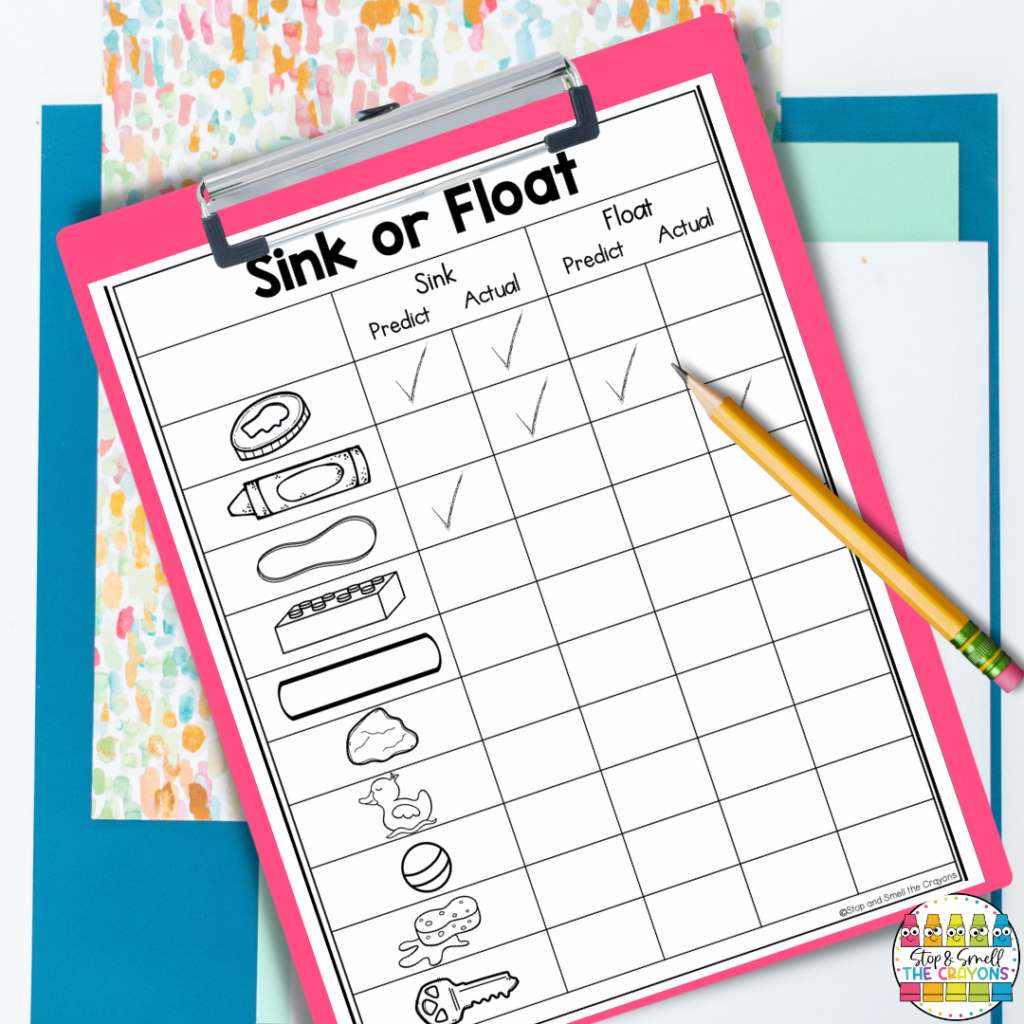
For this experiment, students discover the properties of materials and see them in action. I find my students are more engaged when they are able to see the items in action with their own eyes. This can be a whole class lesson, or it can be used as a center activity where students can complete the experiment on their own time during center time.
Students look at different materials, such as – popsicle sticks (wood), marbles (glass), and rubber bands (rubber). Students will have access to a bowl or bucket of water where they will place these different items to see how the items react and interact with the water.
They will record their answers on the chart “Sink or Float” included in the Objects, Materials, and Everyday Structures.
Build a Wolf Proof House
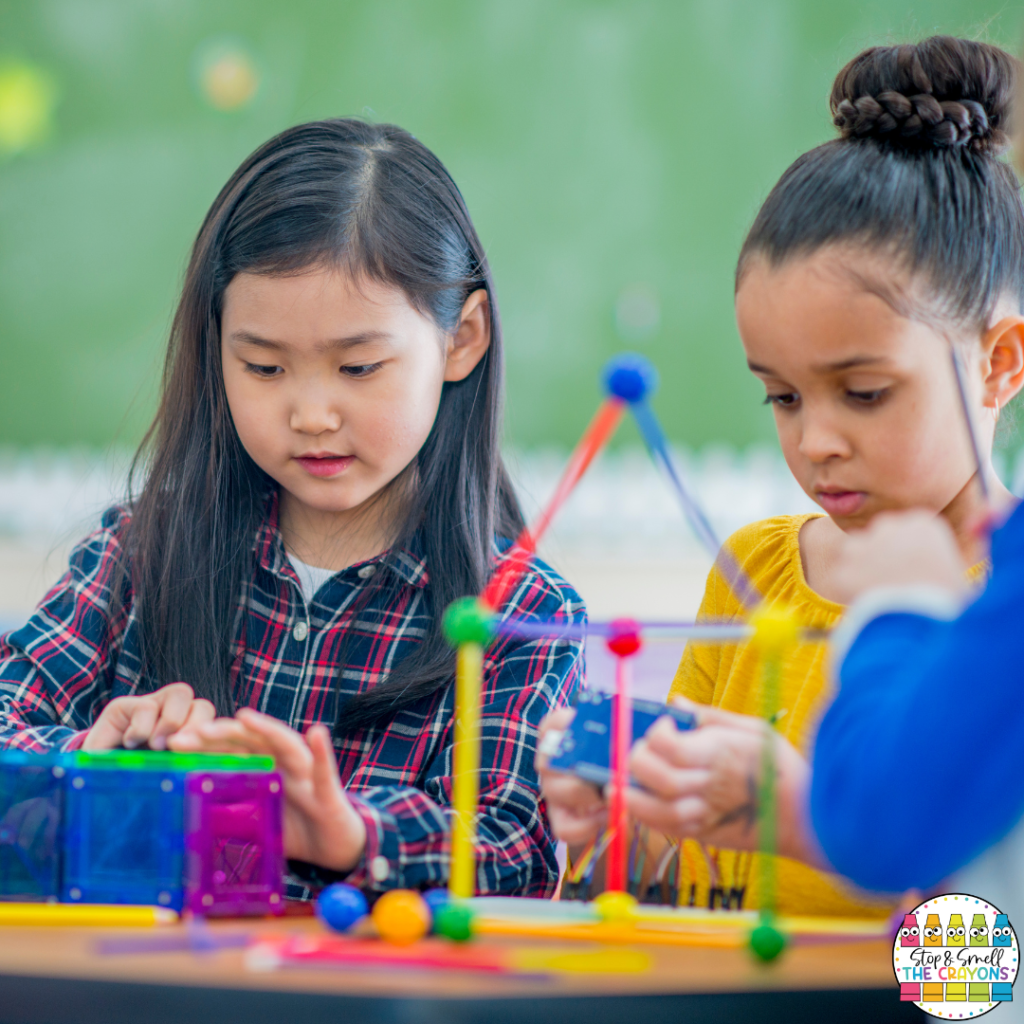
After reading The Three Little Pigs, I have a class discussion with my class about which pig chose strong materials to build their house. We look at the good and bad choices the pigs made. As we discussed, I make a chart on the whiteboard while my students record the notes on their printed version of the chart to place in their notebooks.
Then we look specifically at the type of materials used and why the pigs chose what they chose. We brainstorm ways that the structures could have been built stronger.
After discussions take place, students can take work together to build their own wolf-proof house. Their main focus is on the main structure of the house to make sure it is sturdy enough not to be blown over by the wolf (my fan).
Some fun materials to gather are grass from the outside, popsicle sticks, or Lego bricks.
Structure Using Recycled Materials and Fasteners
This is a great project to show that you can’t build a sturdy structure without connecting everything together! Students will need to brainstorm other materials they need in order to build a structure that will stay together.
Fasteners include tape, buttons, glue, rubber bands, clips, and staples.
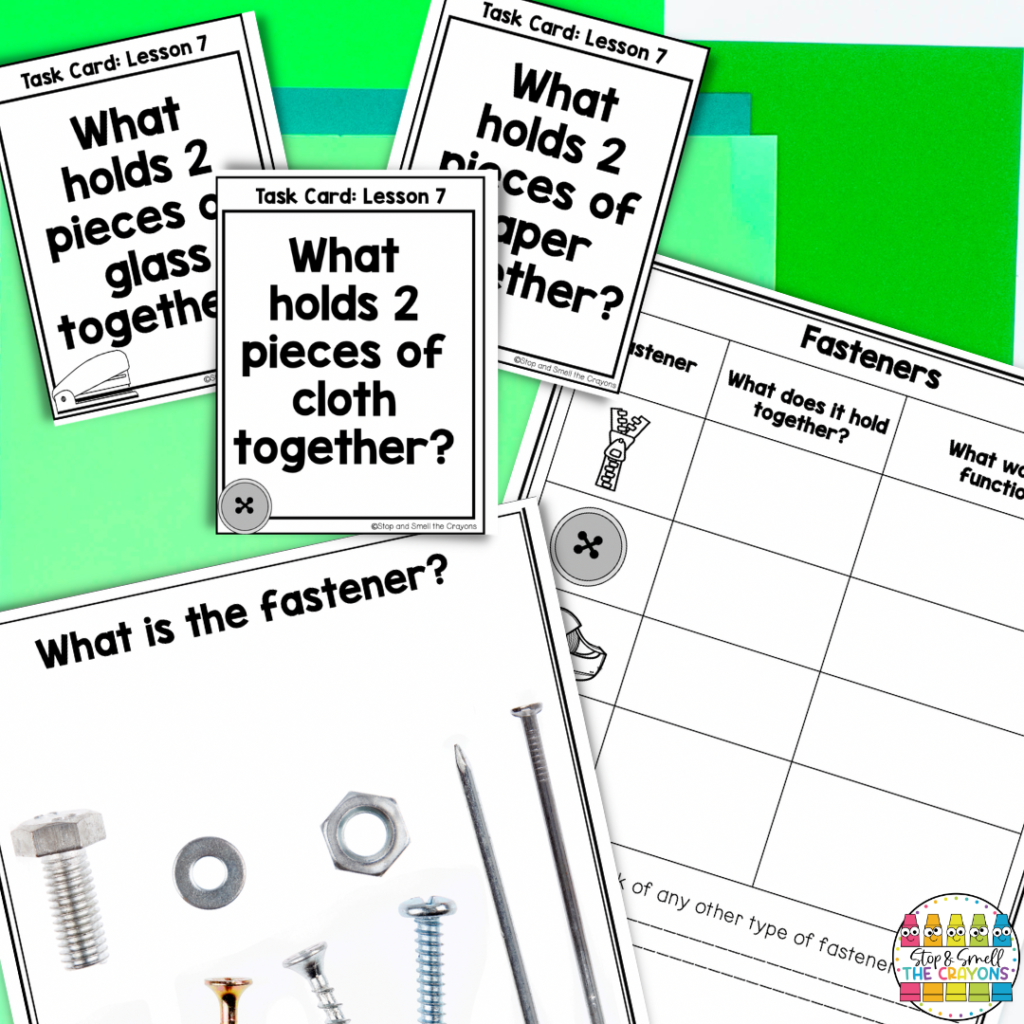
To help my students figure out which fasteners work best, we take notes about which fasteners go with which materials. Then, they practice by using task cards. I create task cards with questions, such as, “What holds two pieces of wood together?” Students record their answers on the answer recording page.
After the students have taken notes and completed the task cards, I give them different challenges. I may challenge them to create a tower out of paper that is 30 cm tall that can stand without support. I also create a center where students have different types of fasteners and different materials. They have to match the fastener with the correct material.
Use the World Around You to See Materials Objects and Everyday Structures Come to Life
To help my students apply their learning, I send home a choice board. On this choice board are different activities they can complete at home. Once they have completed three activities in a row, they bring the choice board back in for a prize.
A few examples I include on my choice board:
- Students walk around their homes and collect observations on a variety of chairs. They write down on paper how the chairs they have at home are similar and different from one another. Students can then bring in their observations and share them with the class.
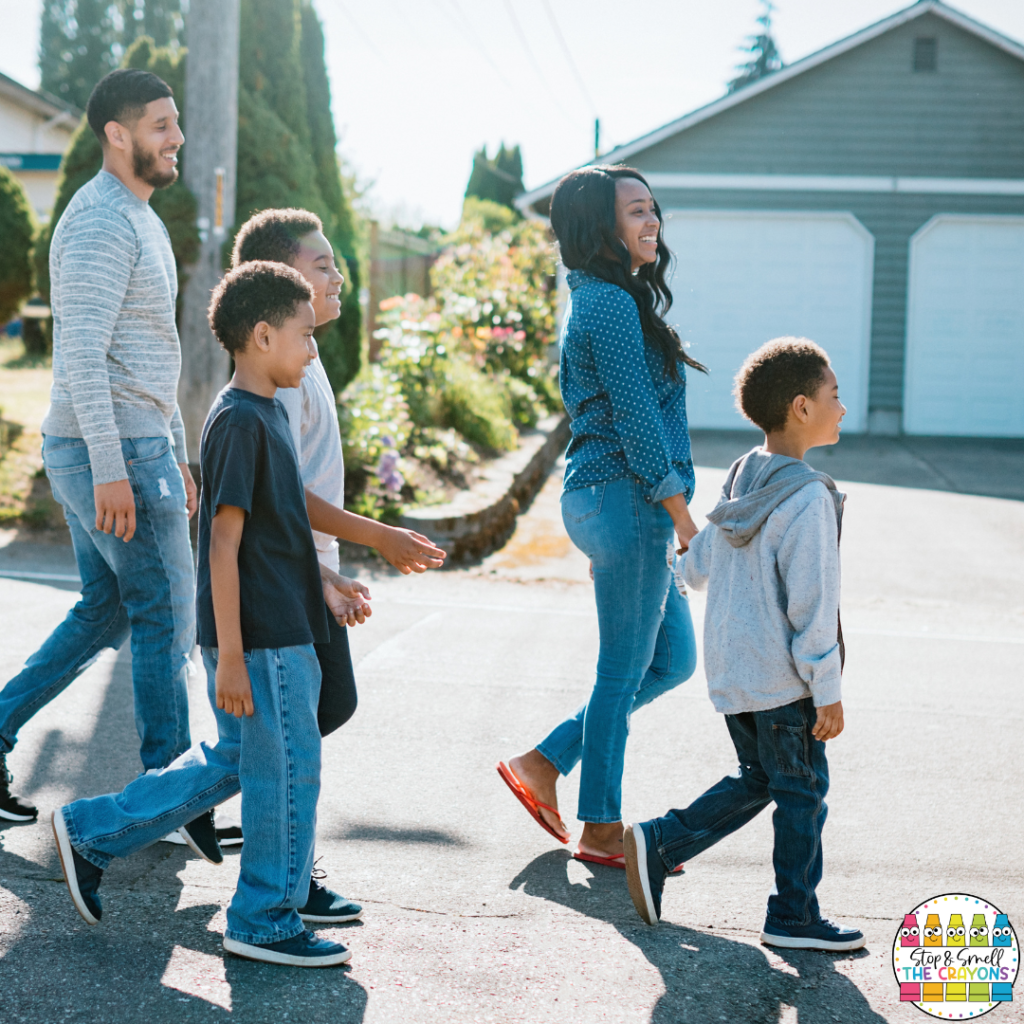
- Another choice is to walk around their neighborhood with their families. This allows your students to see the various types of houses. They can make observations of the different sizes and materials used to construct the houses.
- A third option is to take a nature walk. This choice could happen at your school as a whole class, or it can be done at home. During the nature walk, students observe natural and man-made structures. First, they identify what the object is. Then they will determine if it is natural or man-made. Lastly, they explain the reasoning behind their choice with a partner, family member, or class.
Are You Ready to Teach Materials, Objects, and Everyday Structures?
Materials, Objects, and Everyday Structures is a fun unit to teach because it has many hands-on learning activities. An added bonus for your student’s learning experience is that you can use the science content in other subjects. The hands-on approach and ability to reach your students through science build your student’s confidence in their learning.
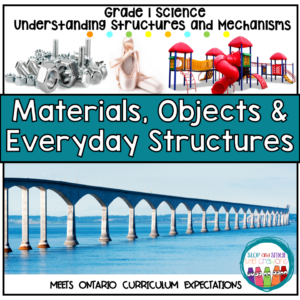
Check out my Tpt store to see my unit on Materials, Objects, and Everyday Structures by clicking the image below!
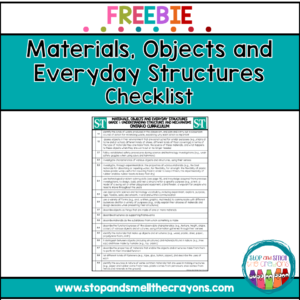
Free Materials, Objects, and Everyday Structures Checklist
Grab your free Ontario Curriculum Science Checklist for Materials, Objects, and Everyday Structures by clicking the image below!
More First Grade Science Resources
Save this Material, Objects, and Everyday Structures!
Remember to save this blog post to your favorite Science Pinterest board so you can easily return when you are needing hands-on activities to bring the fascinating world of materials, objects, and everyday structures alive for your class!
